New Zealand National Cricket Team vs England Cricket Team – Full Match Timeline (T20 World Cup 2026)

The clash between the New Zealand national cricket team and the England cricket team at R. Premadasa Stadium delivered a tightly contested T20 encounter. Below is a structured timeline breakdown of how the match unfolded.
Powerplay (Overs 1–6)
- New Zealand started positively with controlled stroke play.
- England’s pace attack focused on tight lines rather than attacking lengths.
- NZ finished the powerplay without major damage but slightly below an explosive run rate.
Middle Overs (7–15)
- England introduced spin to control scoring.
- Key wickets fell at regular intervals, preventing a big partnership.
- Glenn Phillips attempted acceleration but lacked sustained support.
Death Overs (16–20)
- New Zealand aimed for a late surge.
- England executed yorkers and slower variations effectively.
- NZ closed at 159/7 — competitive but not imposing.
🏏 Second Innings – England Chase (161/6 in 19.3 Overs)
Powerplay (Overs 1–6)
- England began cautiously, rotating strike efficiently.
- Early boundaries relieved pressure and kept required run rate manageable.
Middle Overs (7–15)
- New Zealand’s bowlers tightened control.
- A mini-collapse brought NZ back into contention.
- Smart risk management by England ensured no panic phase.
Final Phase (16–19.3)
- Required rate climbed briefly after key wickets.
- England’s lower-middle order handled pressure calmly.
- Target achieved with three balls remaining — clinical finish.
📊 Tactical Turning Points
- Middle-Over Discipline by England – Restricting NZ to under 160 proved decisive.
- Controlled Chase Strategy – England avoided reckless shots and trusted calculated aggression.
- Bowling Variations at the Death – Slower balls and yorkers disrupted NZ’s late acceleration.
🎯 Match Impact
- England strengthened their semifinal position.
- New Zealand’s net run rate suffered marginally.
- The match highlighted England’s adaptability in subcontinental conditions.
Related
t
thewebcrawlers
0
0
3D Gold Logo Mockup Facade Sign – Premium Branding for Storefronts
March 3, 2026
Save

t
thewebcrawlers
0
0
3D Discount Numbers Illustration Premium & Modern Brand Style
March 3, 2026
Save
t
thewebcrawlers
0
0
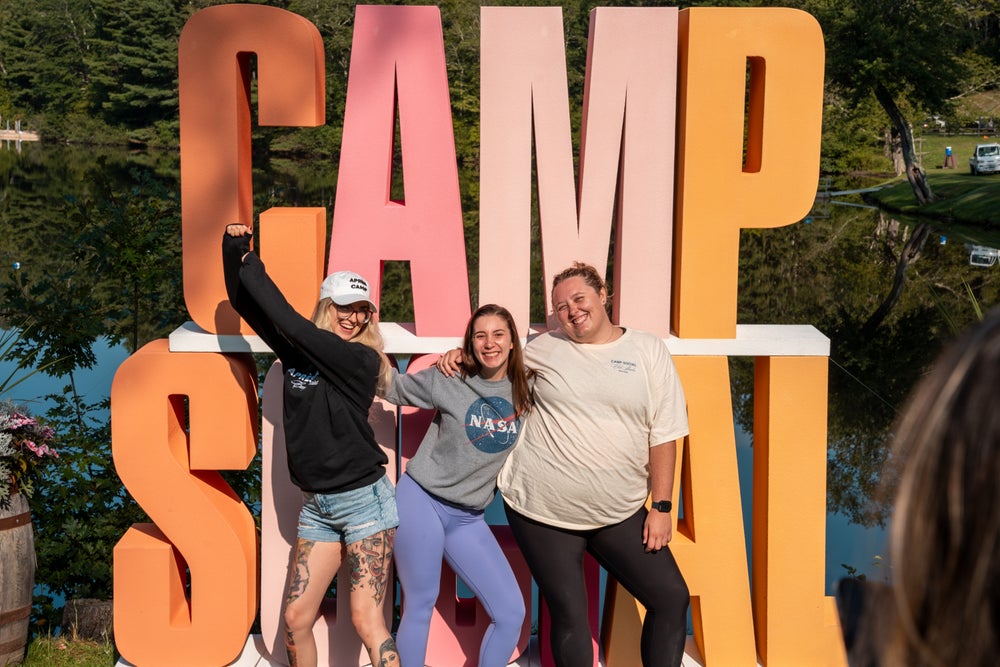
Influencer Launches Adult Summer Camp for ‘Every Type of Woman in Every Stage of Life’ to Foster Offline Friendships
March 1, 2026
Save

t
thewebcrawlers
0
0
The Winners at the 2026 NAACP Image Awards: Celebration of Black Excellence
March 1, 2026
Save
More By Author

t
thewebcrawlers
0
0
Realistic Billboard Mockup PSD Design – Editable & Downloadable Template
March 3, 2026
Save
t
thewebcrawlers
0
0
3D Gold Logo Mockup Facade Sign – Premium Branding for Storefronts
March 3, 2026
Save
t
thewebcrawlers
0
0
3D Discount Numbers Illustration Premium & Modern Brand Style
March 3, 2026
Save
t
thewebcrawlers
0
0
Influencer Launches Adult Summer Camp for ‘Every Type of Woman in Every Stage of Life’ to Foster Offline Friendships
March 1, 2026
Save